
Is Bread Back on the Menu? Yes! Easy Homemade gluten free bread Recipe
Do you miss the smell of freshly baked bread filling your kitchen? If you’re eating gluten-free, you might think homemade bread is off-limits. But guess what? It’s not! Making delicious, soft, and fluffy gluten free bread at home is easier than you think. This recipe is so simple, even if you’ve never baked bread before, you can do it! Get ready to enjoy warm, homemade bread again – without any gluten!
Table of Contents
1. Overview: Your Easy gluten free bread Adventure
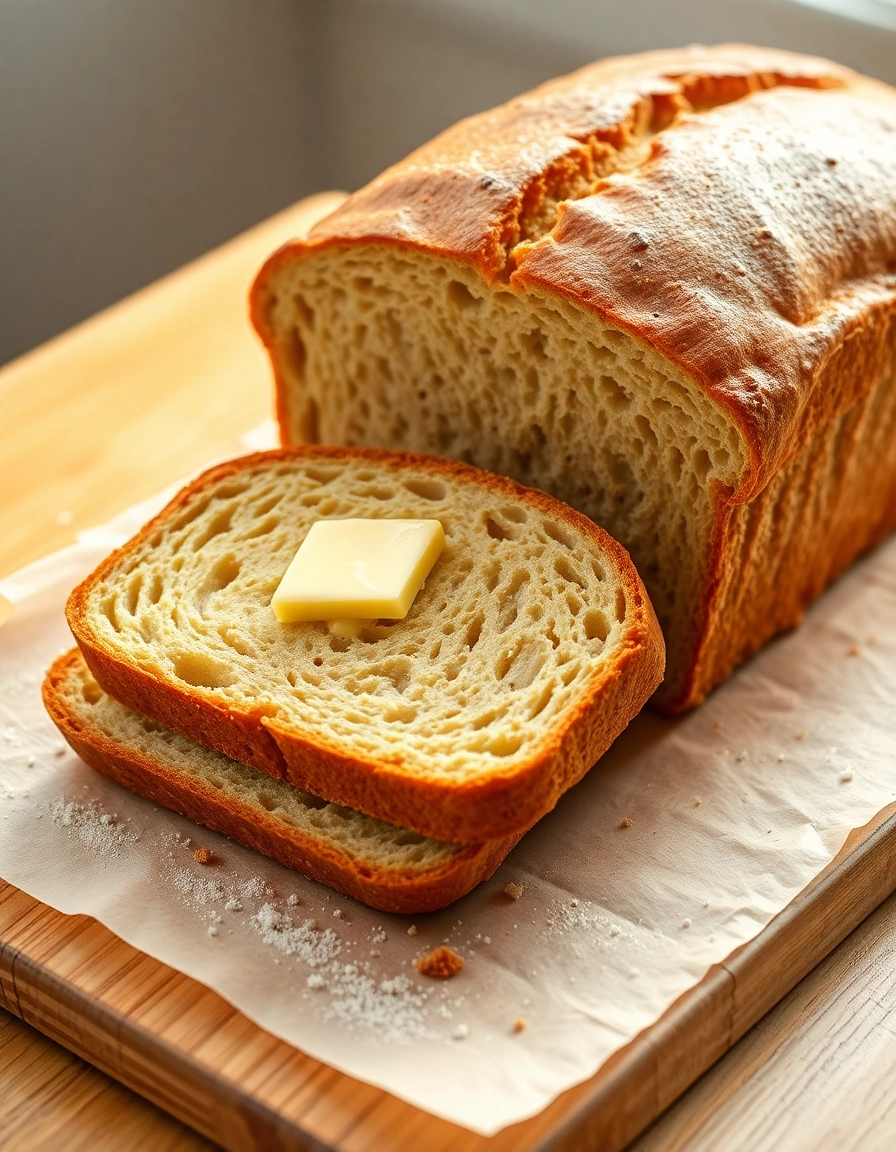
This isn’t just any bread recipe; it’s your ticket to amazing homemade gluten free bread that actually tastes good! Forget about dense, crumbly loaves. This recipe is designed to give you bread that’s soft, light, and perfect for sandwiches, toast, or just enjoying with a little butter.
Time Commitment: About 2 hours (mostly rising and baking time, hands-on time is short!)
Difficulty Level: Super Easy (Beginner-Friendly)
Making your own gluten free bread at home is rewarding and healthier than many store-bought options. Plus, the smell of baking bread is just the best, right?
Let’s get baking! You’ll be surprised how simple it is to create wonderful gluten free bread.
2. Essential Ingredients for Perfect Gluten-Free Loaf

To bake fantastic gluten free bread, you need the right ingredients. Here’s what you’ll need and why each one is important:
- Gluten-Free Flour Blend (3 cups): This is the star! Look for a blend that says “all-purpose” and contains a mix of flours like rice flour, tapioca starch, and potato starch. These blends are made to act like regular flour in baking.
- Why it’s important: Regular wheat flour has gluten, which gives bread its stretchy texture. Gluten-free blends replace that gluten with a mix of flours and starches to get a similar result.
- Substitution: You can try different brands of gluten-free flour blends. Some blends work better than others, so if you don’t like the first one you try, experiment with another!
- Active Dry Yeast (2 ¼ teaspoons): Yeast is what makes the bread rise and get fluffy.
- Why it’s important: Yeast eats sugar and makes bubbles of carbon dioxide, which makes the dough rise.
- Substitution: You can use instant yeast instead. If using instant yeast, you can mix it directly with the dry ingredients and skip the “proofing” step (we’ll talk about that later).
- Warm Water (1 ¼ cups, about 105-115°F): Warm water is needed to wake up the yeast.
- Why it’s important: Water that’s too cold won’t activate the yeast, and water that’s too hot can kill it. Think lukewarm bath water – that’s perfect!
- Sugar (1 tablespoon): A little sugar feeds the yeast and helps it get started.
- Why it’s important: Yeast loves sugar! It’s like giving them breakfast so they can get to work rising your bread.
- Substitution: You can use honey or maple syrup instead of sugar if you like.
- Olive Oil (2 tablespoons): Oil makes the bread soft and moist.
- Why it’s important: Oil keeps the bread from drying out and makes it tender.
- Substitution: You can use other oils like avocado oil or melted coconut oil.
- Salt (1 ½ teaspoons): Salt is important for flavor and also helps control the yeast.
- Why it’s important: Salt balances the sweetness and makes the bread taste like bread! It also helps the gluten-free dough structure.
- Xanthan Gum (1 teaspoon): This is a secret ingredient for gluten free bread!
- Why it’s important: Xanthan gum acts like gluten in gluten-free baking. It helps bind the dough together and gives it elasticity, so your bread isn’t crumbly.
- Substitution: If you can’t find xanthan gum, you can sometimes use psyllium husk, but xanthan gum is usually easier to work with for beginners.
- Optional: Egg (1 large): An egg can add richness and structure to your bread.
- Why it’s helpful: Eggs add moisture and help the bread rise a bit higher.
- Variation: For a vegan version, you can skip the egg or use a flax egg (1 tablespoon flaxseed meal mixed with 3 tablespoons water, let it sit for 5 minutes to thicken).
3. Step-by-Step Instructions: Baking Your Own Gluten-Free Loaf
Ready to bake? Follow these simple steps to make your delicious gluten free bread:
- Proof the Yeast: In a small bowl, mix the warm water and sugar. Sprinkle the active dry yeast over the top. Let it sit for 5-10 minutes until it gets foamy. This means the yeast is alive and ready to work! Tip: If the yeast doesn’t get foamy, it might be old or the water might not have been the right temperature. You might need to start with fresh yeast.
- Mix Dry Ingredients: In a large bowl, whisk together the gluten-free flour blend, xanthan gum, and salt. Make sure everything is mixed well. Tip: Whisking helps to lighten the flour and distribute the xanthan gum and salt evenly.
- Combine Wet and Dry: Pour the foamy yeast mixture and olive oil into the bowl with the dry ingredients. If using, add the egg now too.
- Mix the Dough: Use a mixer (stand mixer or hand mixer) or a sturdy spoon to mix everything together. Gluten-free dough is usually wetter than regular dough. Mix until everything is just combined. Don’t overmix! It will be sticky – that’s okay! Tip: If the dough seems very dry, add a tablespoon of water at a time until it comes together. Gluten-free flours can vary in how much liquid they absorb.
- First Rise: Cover the bowl with plastic wrap or a clean kitchen towel. Place it in a warm place (like a slightly warm oven or a sunny spot) and let it rise for 1 hour, or until it has almost doubled in size. Tip: A warm place helps the yeast work faster. Don’t let it rise for too long, or it might collapse.
4. Assembly: Shaping and Getting Ready to Bake Your Gluten-Free Bread
Now that your dough has risen, it’s time to shape it and get it ready for baking your gluten free bread:
- Prepare the Pan: Grease a loaf pan (about 9×5 inches) with olive oil or gluten-free cooking spray. You can also line it with parchment paper for easy removal.
- Shape the Dough: Gently punch down the dough to release some of the air. Scoop the dough into the prepared loaf pan. Use wet fingers or a spatula to smooth the top of the dough. Gluten-free dough is sticky, so wet hands help a lot! Tip: Don’t try to knead gluten-free dough like regular bread dough. It’s not necessary and can actually make it tougher.
- Second Rise: Cover the loaf pan loosely with plastic wrap or a clean kitchen towel. Let it rise again in a warm place for another 30-45 minutes. It should rise a bit more, but maybe not quite double this time. Tip: This second rise is important for a light and airy texture.
- Bake: Preheat your oven to 375°F (190°C). Bake the gluten free bread for 45-55 minutes, or until the top is golden brown and a toothpick inserted into the center comes out clean. Tip: Every oven is different, so start checking for doneness around 45 minutes. If the top is getting too brown, you can tent it loosely with foil.
- Cool: Let the bread cool in the pan for 10 minutes before carefully transferring it to a wire rack to cool completely. Resist the urge to slice it while it’s hot – it’s best to let it cool completely for the best texture and slicing. Presentation Tip: Once cooled, slice your beautiful homemade gluten free bread and serve it warm with butter, jam, or your favorite toppings. It’s also fantastic for sandwiches or toast!
5. Storage and Make-Ahead Tips for Your Gluten-Free Bread
Want to keep your delicious homemade gluten free bread fresh? Here are some tips:
- Storage: Store cooled gluten free bread in an airtight container at room temperature for up to 3 days. For longer storage, slice the bread and freeze it in a freezer-safe bag for up to 2 months. Tip: Freezing sliced bread makes it easy to grab a slice or two for toast whenever you want!
- Reheating: To reheat frozen bread, you can toast it directly from frozen. You can also thaw slices at room temperature or in the microwave for a few seconds. To refresh bread stored at room temperature, you can lightly toast slices or warm them in a low oven (300°F/150°C) for a few minutes. Tip: A little toasting really brings back the fresh-baked flavor and texture!
- Make-Ahead Dough: While you can’t really make the dough far in advance, you can prepare the dry ingredients and the yeast mixture separately ahead of time. Then, when you’re ready to bake, just combine them and continue with the recipe. Tip: Measure out your flour blend, xanthan gum, and salt into one container, and measure out your sugar and yeast into another. Store them at room temperature until you’re ready to bake.
6. Recipe Variations: Fun Ways to Change Up Your Gluten-Free Loaf
Once you’ve mastered the basic recipe, why not try some fun variations of gluten free bread ? Here are a few ideas:
- Herbed Bread: Add 1-2 tablespoons of dried herbs like rosemary, thyme, or Italian seasoning to the dry ingredients for a savory bread.
- Cheese Bread: Stir in ½ cup of shredded cheddar, mozzarella, or Parmesan cheese into the dough before the first rise.
- Sweet Bread: Add ¼ cup of sugar and 1 teaspoon of cinnamon to the dry ingredients. You could also add ½ cup of raisins or chocolate chips.
- Garlic Bread: Before baking, brush the top of the loaf with melted garlic butter.
- Seed Bread: Sprinkle the top of the loaf with sesame seeds, poppy seeds, or sunflower seeds before baking for added flavor and crunch.
Get creative and experiment with your favorite flavors to make your gluten free bread truly your own!
7. Conclusion: Enjoy Your Homemade Gluten-Free Bread!
Congratulations! You’ve just baked your own amazing gluten free bread! See? It wasn’t so hard after all. Homemade gluten-free bread is not only delicious but also a healthier and often more affordable option than store-bought. Plus, there’s nothing quite like the satisfaction of baking your own bread and filling your home with that wonderful aroma.
Don’t be afraid to experiment with this recipe. Try different gluten-free flour blends, add your favorite flavors, and find what you like best. Baking should be fun, so enjoy the process and most importantly, enjoy eating your freshly baked gluten free bread!
8. FAQs: Your Gluten-Free Bread Questions Answered
- Q: Is gluten-free bread healthy? A: Homemade gluten free bread can be a healthy choice, especially compared to some store-bought versions that can be high in processed ingredients. This recipe uses simple ingredients and you control what goes into it. It’s great for people with gluten sensitivities or celiac disease.
- Q: Why is my gluten free bread dense and crumbly? A: This can happen if you use the wrong type of flour blend, don’t use enough liquid, or don’t use xanthan gum. Make sure you’re using a good quality all-purpose gluten-free flour blend and measuring your ingredients accurately. Xanthan gum is really important for structure in gluten free bread.
- Q: Can I make this recipe without yeast? A: This recipe is designed to use yeast for a light and fluffy texture. There are yeast-free gluten free bread recipes out there, but they will have a different texture (usually denser). If you want to try yeast-free, search for a specific “gluten-free yeast-free bread recipe”.
- Q: How long does homemade gluten free bread last? A: At room temperature, it’s best for about 2-3 days. In the freezer, it can last for up to 2 months.
- Q: Can I use a bread machine for this recipe? A: Yes, many bread machines have a gluten-free setting. Check your bread machine’s manual for specific instructions for gluten-free bread. You’ll likely just add the ingredients in the order recommended by your machine and select the gluten-free cycle.